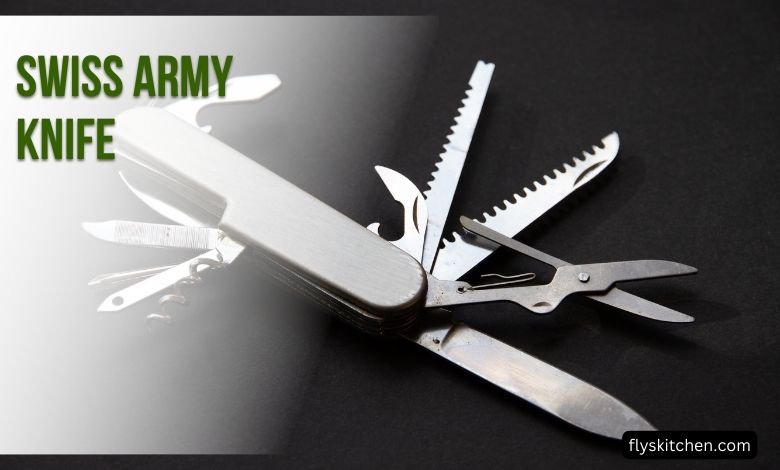
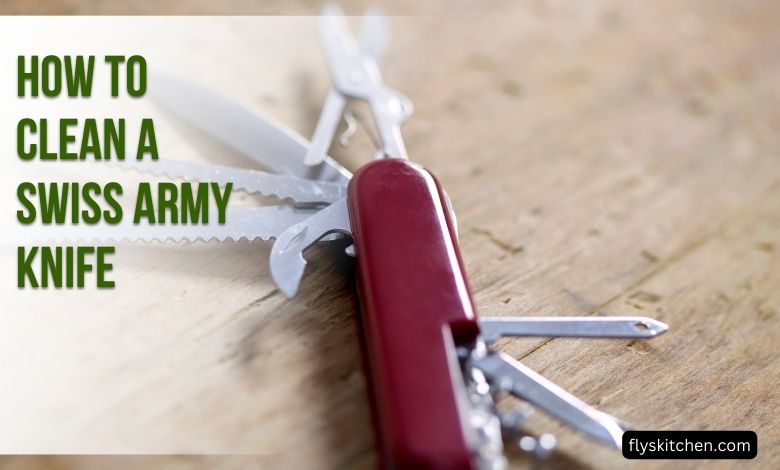
A Swiss Army knife is one of the most versatile tools around. The compact size and multitude of functions, from screwdrivers and scissors to magnifying glasses and LED lights, make these pocket knives an essential everyday carry item for many. But to keep all those tools performing at their best, it’s important to clean your Swiss Army knife properly and regularly. According to the Swiss Army, cleaning is the most important thing you can do for your knife’s longevity. This article will provide women with a step-by-step guide on how to effectively clean a Swiss Army knife. Following these simple cleaning procedures will ensure your knife continues operating smoothly for years to come.
Contents
The Importance of Cleaning Your Swiss Army Knife

Keeping your Swiss Army knife clean is critical for several reasons:
- Prevents corrosion and rust: Moisture, dirt and debris left on a knife can lead to rust and corrosion on the metal components. This can cause pitting and permanent damage over time.
- Removes gunk and material that can dull blades: Substances like sap, oil and random dirt will stick to knife blades and affect their performance. A clean blade stays sharper for longer.
- Helps joints and hinges continue to operate smoothly: Debris and moisture in hinge joints will impede their ability to open and close properly.
- Extends the life of the knife: Consistent cleaning means less wear and tear on the tools and surfaces. A study by Consumer Reports found that testers were able to extend the usable life of pocket knives by up to 5x simply with regular cleaning.
- Ensures all tools can function as intended: Clean tools work better! Removing grit, grime and buildup means the scissors will cut better, the screwdrivers will turn easier in screws, etc.
- Improves aesthetic appearance: A grungy, dirty knife looks unattractive. Proper cleaning keeps your knife looking nice.
Supplies Needed
Cleaning your Swiss Army knife thoroughly doesn’t require fancy equipment. Chances are you already have everything you need:
- Clean cloths or paper towels
- Q-tips
- Small brush (old toothbrush, small paint brush, etc.)
- Mild dish soap
- Baking soda
- White vinegar
- Olive oil or mineral oil
- Clean water
- Old toothbrush
- Compressed air (optional)
Disassembling the Knife
Consult your owner’s manual for model-specific instructions, but disassembling a Swiss Army knife to clean generally follows these steps:
- Locate any screws on the sides or back of the knife tools. Use a screwdriver to remove them.
- Note small springs, washers and other components that may come loose when unscrewing pieces. Pay attention to their order and orientation for reassembly later.
- Carefully detach each tool like the tweezers, toothpick, scissors, etc. from the knife. Some may slide out while others have hinged joints.
- For knives with layered tool components, continue separating the layers until you can access all sides.
Take care when handling the small parts like springs as they can easily be lost. Follow the manufacturer’s recommended disassembly process to avoid damaging components.
Cleaning the Exterior
The handles and visible tools can be cleaned as follows:
- Wipe down all surfaces with a soft cloth, rag or paper towel slightly dampened with warm water and a couple drops of mild dish soap. Avoid submerging the knife in water.
- Use a small brush like an old toothbrush to gently scrub in crevices and around embellishments on the knife handles.
- Rinse surfaces thoroughly with clean water to remove any soap residue. Make sure to get into crevices.
- Dry all components completely with a fresh lint-free cloth or towel. Allow to air dry fully before reassembly.
For tough grime or built-up gunk on the handles, make a paste with baking soda and water. Gently rub the paste over stained areas using a soft bristle toothbrush. Rinse thoroughly.
Cleaning the Blades
The knife blades require a bit more care to clean properly:
- Use a clean Q-tip dipped in warm soapy water to gently clean the crevices and joints where the blade attaches to the knife.
- Rinse blades under running water. Thoroughly wipe dry with a soft lint-free cloth. Ensure no moisture remains on the blade metal.
- For stuck-on sap or debris, use a wooden or plastic pick to gently scrape off material. Avoid using metal objects on the blade surfaces.
- Clean delicately so as not to damage the blade edges and points.
Cleaning the Hinges and Tools
The joints and hinges where the knife opens and closes, as well as the surfaces of tools like screwdrivers, bottle openers and scissors, should be cleaned as follows:
- Use a soft bristle toothbrush or small paintbrush and warm soapy water to clean in and around the hinges as well as the handles of the built-in tools.
- Pay special attention to the joint areas where the most gunk and grime will accumulate. Move the hinged components back and forth to loosen debris.
- Thoroughly rinse all components under running water, using a syringe if needed to direct the stream into tight spaces. Ensure no soap residue remains.
- Use compressed air to remove any dust or particles on hard-to-reach tool surfaces.
Allow all areas to dry fully before lubricating hinges.
Lubricating Hinges
A key step once everything is clean and dry is lubricating the hinges to keep them working smoothly:
- Place a small drop of light mineral oil, sewing machine oil or olive oil onto each hinge joint using a thin pin or needle.
- Open and close the knife repeatedly to evenly distribute the oil. Rotate tools back and forth.
- Leave knife open and allow excess oil to drain off overnight on an absorbent cloth or paper towel.
- Wipe away any remaining excess lubricant with a clean lint-free cloth before reassembly. You want a thin coat of oil not globs.
Reassembling the Knife
Reassembly is the reverse of disassembly. Follow the manufacturer’s instructions closely, and take note of the following:
- Replace all components in their proper order and orientation. Refer to disassembly notes if needed.
- Ensure any springs are seated correctly in their slots or housing.
- Tighten screws firmly but not excessively tight. Overtightening can crack plastic components.
- Test that all tools open and close smoothly once reassembled. Add a drop of oil if needed.
Caring for Wood Handles
For versions with natural wood handles, properly care for the wood by:
- Cleaning gently with a damp soft cloth and mild soap as needed. Avoid submerging.
- Making sure wood is completely dry before storing knife after cleaning.
- Applying a light coat of food-safe mineral oil or olive oil periodically to condition the wood.
- Storing the knife away from excessive heat or moisture which can damage the wood.
Storing Properly
To ensure your clean Swiss Army knife stays that way after cleaning:
- Make certain the knife is completely dry before storing away.
- Avoid storage in garages, attics or areas with excess heat, humidity or frequent temperature fluctuations.
- Store the knife partially open rather than fully closed to avoid placing pressure on the hinges and internal springs.
FAQs
How often should I clean my Swiss Army knife?
For frequent users, aim to clean your knife at least monthly. For occasional use, a thorough cleaning every 3-6 months is sufficient.
Can I wash Swiss Army knife parts in the dishwasher?
No, hand washing is strongly recommended to avoid potential damage to components. The harsh heat and detergents in a dishwasher can deteriorate plastic pieces and loosen glued handles over time.
What common household products make good Swiss Army knife lubricants?
Light mineral oils, sewing machine oils, and olive oil all work well for lubricating hinges. Hardware stores also sell small bottles of oil specifically for pocket knives. Avoid using petroleum-based oils which can damage parts.
Conclusion
While it may seem involved, regularly cleaning your Swiss Army knife is simple if you follow these key steps: fully disassemble, clean all exterior and interior surfaces, properly lubricate the hinges, then reassemble. Proper cleaning removes debris that can impede performance and lead to tool damage over time. With occasional cleaning and lubrication, your versatile pocket knife will continue functioning flawlessly for many years to come.

